In my previous article, I explained how to deploy an Angular application on a VPS using Nginx by serving the static browser build.
You can read that article here:
How to Deploy an Angular Application on a VPS Using Nginx and HTTPS
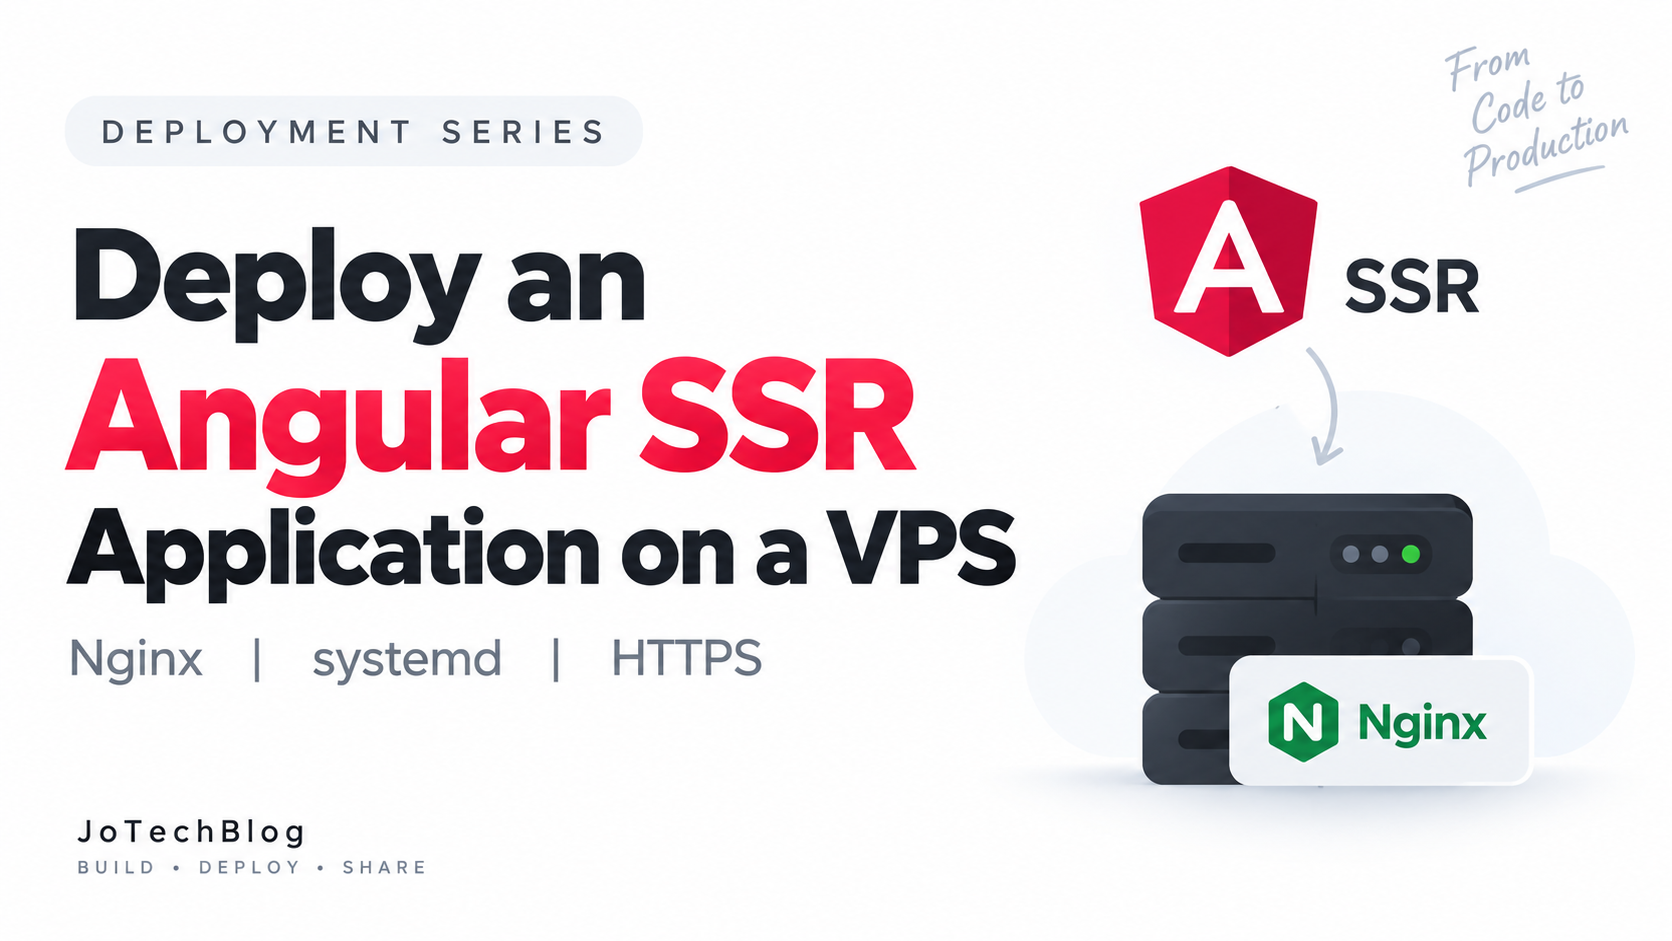
That approach uses Client-Side Rendering (CSR). In this article, we will deploy the same Angular portfolio application using Server-Side Rendering (SSR).
With SSR, Angular renders the initial HTML on the server using Node.js. Nginx works as a reverse proxy and forwards incoming requests to the Angular SSR application.
What We Are Going to Build
In this setup, we will use:
- Angular SSR
- Node.js
- Express
- Nginx
- systemd
- GoDaddy DNS
- Let's Encrypt and Certbot
- Ubuntu VPS
The SSR application will be available at:
https://test-angular-ssr.jotech.inThe Angular SSR application will run internally on:
http://127.0.0.1:4000Nginx will receive requests from the domain and forward them to the Angular SSR server.
1. Use the Existing Angular Build
In the previous CSR deployment, I had already cloned the Angular project, installed Node.js, installed the project dependencies, and generated the production build.
My Angular project is located at:
/root/projects/frontend/Jobi-PortfolioI checked the generated files inside the dist directory:
ls -la dist/jobi-portfolio/The build output contained both browser and server directories:
dist/
└── jobi-portfolio/
    ├── browser/
    └── server/
The browser directory contains the frontend files used by the browser.
The server directory contains the files required to run Angular SSR.
In the previous article, I used the browser directory for the CSR deployment. In this setup, I will use the generated server files.
The main SSR entry point is:
dist/jobi-portfolio/server/server.mjsThere is no need to run npm run build again if the SSR build has already been generated and the files are available.
2. Test the Angular SSR Application
Before configuring systemd or Nginx, I wanted to verify that the Angular SSR application was working correctly.
From the Angular project directory, I ran:
cd /root/projects/frontend/Jobi-PortfolioThen, I started the SSR application using the existing npm script:
npm run serve:ssr:jobi-portfolioThis command runs the following file:
node dist/jobi-portfolio/server/server.mjsThe server started successfully:
Node Express server listening on http://localhost:4000The application was now running on port 4000.
I tested the application from another terminal using:
curl http://127.0.0.1:4000I also opened the following URL in the browser:
http://localhost:4000The portfolio page loaded successfully, which confirmed that the Angular SSR build was working.
After testing, I stopped the temporary server by pressing:
Ctrl + CHowever, running the application manually is not suitable for production because the process can stop when the terminal session ends.
For production, I needed a way to run the application continuously in the background.
3. Find the Node.js Path
I planned to use systemd to manage the Angular SSR application.
Before creating the service, I checked the project directory:
pwdOutput:
/root/projects/frontend/Jobi-PortfolioI also checked the location of Node.js:
which nodeOutput:
/root/.nvm/versions/node/v24.21.0/bin/nodeThese paths are required when creating the systemd service.
4. Create a systemd Service
systemd allows us to run the Angular SSR application as a background service.
It also provides useful features such as:
- Starting the application automatically after a server reboot.
- Restarting the application if it stops unexpectedly.
- Checking the application status.
- Viewing application logs.
I created a new systemd service file:
nano /etc/systemd/system/jobi-portfolio-ssr.serviceI added the following configuration:
[Unit]
Description=Jobi Portfolio Angular SSR Application
After=network.target

[Service]
Type=simple
User=root

WorkingDirectory=/root/projects/frontend/Jobi-Portfolio

ExecStart=/root/.nvm/versions/node/v24.21.0/bin/node \
/root/projects/frontend/Jobi-Portfolio/dist/jobi-portfolio/server/server.mjs

Environment=NODE_ENV=production
Environment=PORT=4000

Restart=always
RestartSec=5

[Install]
WantedBy=multi-user.targetExplanation of the Configuration
Description
Description=Jobi Portfolio Angular SSR ApplicationThis provides a readable name for the service.
WorkingDirectory
WorkingDirectory=/root/projects/frontend/Jobi-PortfolioThis specifies the working directory of the Angular project.
ExecStart
ExecStart=/root/.nvm/versions/node/v24.21.0/bin/node \
/root/projects/frontend/Jobi-Portfolio/dist/jobi-portfolio/server/server.mjs
This command starts the Angular SSR server using the Node.js executable installed through NVM.
Environment
Environment=NODE_ENV=production
Environment=PORT=4000
These settings define the application environment and the port used by the server.
Restart
Restart=always
RestartSec=5
If the application stops, systemd attempts to restart it after five seconds.
In this example, the service runs as
rootbecause the project is located inside the/rootdirectory. In a production environment, it is better to use a separate non-root user to run the application.
I saved the file and exited Nano.
5. Start and Enable the Service
After creating the service file, I asked systemd to reload its configuration:
systemctl daemon-reloadThen, I started the Angular SSR service:
systemctl start jobi-portfolio-ssrTo make the service start automatically after a VPS reboot, I enabled it:
systemctl enable jobi-portfolio-ssrI checked the service status:
systemctl status jobi-portfolio-ssrIf everything is working correctly, the service should show:
Active: active (running)I also tested the SSR application directly:
curl http://127.0.0.1:4000At this point, the Angular SSR application was running in the background.
6. Configure the GoDaddy DNS Record
I had already created a DNS record for the SSR subdomain in GoDaddy.
The DNS record was configured as follows:
| Setting | Value |
|---|---|
| Type | A |
| Name | test-angular-ssr |
| Value | `162.35.175.67 |
| TTL | Default |
This created the following subdomain:
test-angular-ssr.jotech.inThe subdomain points to the public IP address of my VPS.
You can verify the DNS record using:
nslookup test-angular-ssr.jotech.inThe result should contain the VPS IP address.
7. Configure Nginx as a Reverse Proxy
In the previous CSR deployment, Nginx served the Angular files directly from the /var/www directory.
For SSR, the approach is different. Nginx does not serve the Angular application files directly. Instead, it forwards requests to the Node.js SSR server running on port 4000.
This process is called reverse proxying.
I created a new Nginx configuration file:
nano /etc/nginx/sites-available/test-angular-ssrI added the following configuration:
server {
    listen 80;
    listen [::]:80;

    server_name test-angular-ssr.jotech.in;

    location / {
        proxy_pass http://127.0.0.1:4000;

        proxy_http_version 1.1;

        proxy_set_header Host $host;
        proxy_set_header X-Real-IP $remote_addr;
        proxy_set_header X-Forwarded-For $proxy_add_x_forwarded_for;
        proxy_set_header X-Forwarded-Proto $scheme;

        proxy_set_header Upgrade $http_upgrade;
        proxy_set_header Connection "upgrade";
    }
}Understanding the Configuration
The most important setting is:
proxy_pass http://127.0.0.1:4000;This tells Nginx to forward incoming requests to the Angular SSR application running on port 4000.
For example, when a user visits:
http://test-angular-ssr.jotech.inNginx forwards the request to:
http://127.0.0.1:4000The Angular SSR server processes the request and returns the rendered HTML.
The following headers provide useful information about the original request:
proxy_set_header Host $host;
proxy_set_header X-Real-IP $remote_addr;
proxy_set_header X-Forwarded-For $proxy_add_x_forwarded_for;
proxy_set_header X-Forwarded-Proto $scheme;
These headers help the backend identify the original host, client IP address, and request protocol.
8. Enable the Nginx Configuration
I enabled the new Nginx configuration by creating a symbolic link:
ln -s /etc/nginx/sites-available/test-angular-ssr \
/etc/nginx/sites-enabled/test-angular-ssr
Before applying the changes, I checked the Nginx configuration:
nginx -tIf the configuration is valid, Nginx displays a successful configuration test.
Then, I reloaded Nginx:
systemctl reload nginxReloading Nginx applies the new configuration without stopping the existing web server.
9. Test the SSR Application Through Nginx
First, I checked whether the Angular SSR service was running:
systemctl status jobi-portfolio-ssrI also tested the Node.js application directly:
curl http://127.0.0.1:4000Then, I tested the application through Nginx:
curl -I -H "Host: test-angular-ssr.jotech.in" http://127.0.0.1If the configuration is working correctly, the response should contain:
HTTP/1.1 200 OKI then opened the following URL in my browser:
http://test-angular-ssr.jotech.inThe Angular SSR application was now accessible through the custom domain.
10. Enable HTTPS Using Certbot
After confirming that the website was working over HTTP, I configured HTTPS.
Certbot was already installed on my VPS. If it is not installed, use:
apt install certbot python3-certbot-nginx -yI requested an SSL certificate for the SSR subdomain:
certbot --nginx -d test-angular-ssr.jotech.inCertbot verifies the domain and updates the Nginx configuration automatically.
During the setup, Certbot may ask for:
- An email address.
- Agreement to the terms of service.
- Permission to redirect HTTP traffic to HTTPS.
After the process completes successfully, the application will be available at:
https://test-angular-ssr.jotech.inI could now access the Angular SSR application securely using HTTPS.
11. Test Certificate Renewal
Let's Encrypt certificates need to be renewed periodically.
Certbot normally configures automatic renewal, but we can test the renewal process using:
certbot renew --dry-runIf the command completes successfully, the renewal process is working correctly.
12. Useful Commands for Managing the SSR Application
Check the service status
systemctl status jobi-portfolio-ssrRestart the SSR application
systemctl restart jobi-portfolio-ssrStop the SSR application
systemctl stop jobi-portfolio-ssrStart the SSR application
systemctl start jobi-portfolio-ssrView application logs
journalctl -u jobi-portfolio-ssr -fPress Ctrl + C to stop viewing the logs.
Check whether port 4000 is in use
ss -ltnp | grep 400013. Updating the Angular SSR Application
When I make changes to the Angular project, I can update the deployed SSR application using the following steps.
Move to the project directory:
cd /root/projects/frontend/Jobi-PortfolioPull the latest changes:
git pull origin mainInstall any new dependencies:
npm installBuild the Angular application:
npm run buildRestart the systemd service:
systemctl restart jobi-portfolio-ssrCheck the service status:
systemctl status jobi-portfolio-ssrUnlike the CSR deployment, we do not copy the generated files into /var/www/test-angular. The SSR application runs directly from the generated server build.
Nginx continues forwarding requests to the Node.js application on port 4000.
CSR vs SSR Deployment
| Feature | CSR Deployment | SSR Deployment |
|---|---|---|
| Rendering location | Browser | Server and browser |
| Nginx role | Serves static files | Reverse proxy |
| Node.js required at runtime | No | Yes |
| systemd service required | No | Yes |
| Initial HTML rendering | Happens in the browser | Happens on the server |
| Deployment directory | /var/www/test-angular | Angular project directory |
| Main server component | Nginx | Nginx and Node.js |
Conclusion
In this guide, I deployed my Angular portfolio application using Angular SSR, Node.js, systemd, and Nginx.
I reused the SSR build generated during the Angular build process and tested the application locally on port 4000. Then, I created a systemd service to keep the application running in the background.
After that, I configured Nginx as a reverse proxy and connected a GoDaddy subdomain to the VPS. Finally, I enabled HTTPS using Certbot and Let's Encrypt.
The main difference between the previous CSR deployment and this SSR deployment is that Nginx no longer serves the Angular files directly. Instead, Nginx forwards requests to the running Angular SSR server.
This setup allows the Angular application to generate the initial HTML on the server while still providing an interactive frontend in the browser.