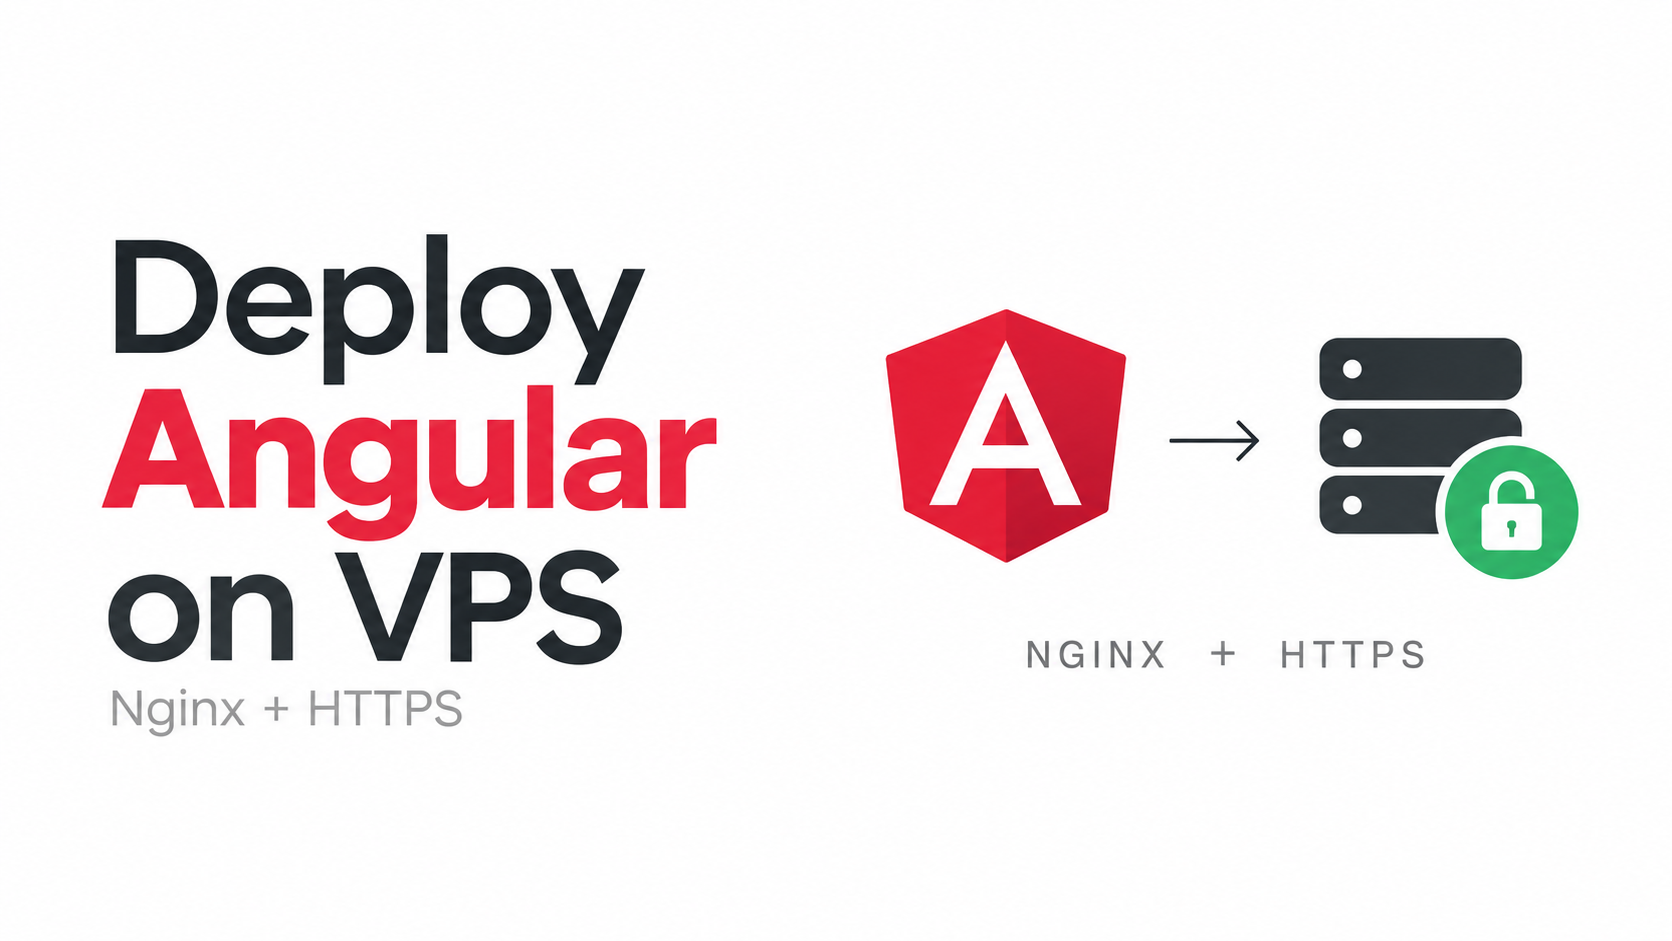
Deploying an Angular application on a VPS is a useful skill when you want to host your own portfolio or web application. Instead of depending completely on platforms such as Vercel or Netlify, you can host your application on your own server.
In this guide, I will explain how I deployed my Angular portfolio application on an Ubuntu VPS using Nginx, configured a custom subdomain through GoDaddy, and enabled HTTPS using Let's Encrypt and Certbot.
For this deployment, I used only the Angular browser build. I did not configure Angular Server-Side Rendering (SSR).
Project Used in This Guide
I used my Angular portfolio project for this deployment.
GitHub repository: Jobi Portfolio
The application will be hosted using the following subdomain:
test-angular.jotech.inMy VPS public IP address is:
162.35.175.671. Clone the Angular Project
First, connect to your VPS using SSH.
Move to the directory where you want to keep your frontend projects:
cd ~/projects/frontendClone the GitHub repository:
git clone https://github.com/jobissjo/Jobi-Portfolio.gitMove into the project directory:
cd Jobi-PortfolioYour Angular project is now available on the VPS.
2. Install Node.js Using NVM
Angular requires Node.js to install dependencies and build the application.
I used NVM to install Node.js because it makes it easier to manage different Node.js versions.
Install NVM using the following command:
curl -o- https://raw.githubusercontent.com/nvm-sh/nvm/v0.40.3/install.sh | bashReload the shell configuration:
source ~/.bashrcInstall the latest Long-Term Support version of Node.js:
nvm install --ltsCheck the installed Node.js version:
node -vExample output:
v24.21.0You can also check the npm version:
npm -vNode.js is required for building the Angular application. However, we do not need to run Node.js in the background when Nginx is serving the application as static files.
3. Install the Project Dependencies
Inside the Angular project directory, run:
npm installThis command reads the package.json file and installs the required dependencies.
The installed packages include Angular libraries and other packages used by the portfolio application.
4. Build the Angular Application
To create a production build, run:
npm run buildIf Angular CLI is installed and available globally, you can also use:
ng buildAfter the build process is completed, Angular generates the output inside the dist directory.
In my project, the output structure looked similar to this:
dist/
└── jobi-portfolio/
    ├── browser/
    └── server/
The browser directory contains the files required to run the frontend application in a web browser.
The server directory contains files related to Angular Server-Side Rendering.
Since I only wanted to host the static frontend, I used the browser directory and ignored the server directory.
To find the generated index.html file, I used:
find dist -name index.htmlI also checked the browser build directory:
ls -la dist/jobi-portfolio/browser/The directory usually contains files such as:
index.html
main-XXXXXXXX.js
styles-XXXXXXXX.css
assets/
The actual filenames may be different depending on the build.
5. Configure the GoDaddy DNS Record
Before configuring Nginx, I needed to connect my subdomain to the VPS.
I opened the DNS settings in GoDaddy and created an A record with the following details:
| Setting | Value |
|---|---|
| Type | A |
| Name | test-angular |
| Value | 162.35.175.67 |
| TTL | Default |
The test-angular record creates the following subdomain:
test-angular.jotech.inThis DNS record tells the browser where to find the VPS when someone visits the subdomain.
You can verify the DNS configuration using:
nslookup test-angular.jotech.inThe domain should resolve to the VPS IP address:
162.35.175.67DNS changes may take some time to become available globally.
6. Create a Directory for the Website
Nginx commonly serves static websites from directories inside /var/www.
I created a directory for the Angular application:
mkdir -p /var/www/test-angularNext, I copied the contents of the Angular browser build into this directory:
cp -r dist/jobi-portfolio/browser/. /var/www/test-angular/The dot at the end of the source path is important. It copies the contents of the browser directory rather than copying the directory itself.
To verify the copied files, I used:
ls -la /var/www/test-angularThe directory should contain the Angular application files, including index.html.
7. Configure Nginx
Nginx was already installed and running on my VPS because I was already hosting a FastAPI application on the same server.
Therefore, I did not need to install Nginx again.
I created a new Nginx configuration file for the Angular application:
nano /etc/nginx/sites-available/test-angularI added the following configuration:
server {
    listen 80;
    listen [::]:80;

    server_name test-angular.jotech.in;

    root /var/www/test-angular;
    index index.html;

    location / {
        try_files $uri $uri/ /index.html;
    }

    # Do not cache the main HTML file
    location = /index.html {
        add_header Cache-Control "no-cache";
    }

    # Cache static assets
    location ~* \.(js|css|png|jpg|jpeg|gif|svg|ico|webp|woff|woff2|ttf)$ {
        expires 30d;
        add_header Cache-Control "public";

        try_files $uri =404;
    }
}Understanding the Configuration
listen
listen 80;This tells Nginx to accept HTTP requests on port 80.
server_name
server_name test-angular.jotech.in;This defines the domain name that should use this configuration.
root
root /var/www/test-angular;This specifies the directory containing the Angular application files.
try_files
try_files $uri $uri/ /index.html;Angular applications commonly use client-side routing.
For example, the application may have routes such as:
/about
/projects
/contact
These routes may not exist as physical files on the server. The try_files directive ensures that Nginx serves index.html when a matching file or directory cannot be found. Angular's router can then handle the requested route.
Cache settings
The following configuration prevents the main HTML file from being cached for a long time:
location = /index.html {
    add_header Cache-Control "no-cache";
}
This is useful because the HTML file may reference new JavaScript and CSS files after a deployment.
The static assets are cached for 30 days:
expires 30d;Angular commonly generates hashed filenames for JavaScript and CSS files, which makes long-term caching more practical.
8. Save the Nginx Configuration
When using Nano, save the file with the following shortcuts:
- Press
Ctrl + Oto save the file. - Press
Enterto confirm the filename. - Press
Ctrl + Xto exit Nano.
Remember that the save shortcut uses the letter O, not the number zero.
9. Enable the Nginx Configuration
The configuration file is currently inside the sites-available directory. To enable it, create a symbolic link inside sites-enabled:
ln -s /etc/nginx/sites-available/test-angular \
/etc/nginx/sites-enabled/test-angular
Before applying the configuration, check whether the Nginx configuration contains any errors:
nginx -tExpected output:
nginx: the configuration file /etc/nginx/nginx.conf syntax is ok
nginx: configuration file /etc/nginx/nginx.conf test is successful
If the test is successful, reload Nginx:
systemctl reload nginxReloading Nginx applies the new configuration without stopping the running web server.
10. Test the Website Locally
Before opening the domain in a browser, I tested the Nginx configuration locally using curl:
curl -I -H "Host: test-angular.jotech.in" http://127.0.0.1The response was:
HTTP/1.1 200 OK
Server: nginx/1.28.3 (Ubuntu)
Content-Type: text/html
Content-Length: 95930
Cache-Control: no-cache
The HTTP/1.1 200 OK response confirmed that Nginx was successfully serving the Angular application.
I then opened the following URL in my browser:
http://test-angular.jotech.inThe Angular portfolio was now accessible through the custom subdomain.
11. Install Certbot
At this point, the website was working over HTTP. The next step was to enable HTTPS.
For this, I used Certbot and Let's Encrypt.
- Certbot is a tool used to obtain and manage SSL/TLS certificates.
- Let's Encrypt provides free SSL/TLS certificates.
- python3-certbot-nginx allows Certbot to automatically configure Nginx.
I installed the required packages using:
apt install certbot python3-certbot-nginx -y12. Enable HTTPS
I ran the following command to configure HTTPS for the subdomain:
certbot --nginx -d test-angular.jotech.inCertbot performs the following tasks:
- Verifies the domain.
- Requests an SSL/TLS certificate from Let's Encrypt.
- Updates the Nginx configuration.
- Enables HTTPS for the domain.
- Optionally redirects HTTP requests to HTTPS.
During the process, Certbot may ask for an email address, acceptance of the terms of service, and whether HTTP traffic should be redirected to HTTPS.
After successful completion, the website can be accessed using:
https://test-angular.jotech.inThe browser should now display the secure HTTPS connection.
13. Test Automatic Certificate Renewal
Let's Encrypt certificates have a limited validity period. Certbot can automatically renew the certificate before it expires.
To test the renewal process, run:
certbot renew --dry-runIf the command completes successfully, the automatic renewal process is working correctly.
14. Update the Angular Application
When I make changes to the Angular project, I can update the deployed website using the following steps.
Move to the project directory:
cd ~/projects/frontend/Jobi-PortfolioPull the latest changes from GitHub:
git pull origin mainInstall any new dependencies:
npm installBuild the Angular application again:
npm run buildRemove the old deployed files:
rm -rf /var/www/test-angular/*Copy the new browser build:
cp -r dist/jobi-portfolio/browser/. /var/www/test-angular/There is no need to restart Nginx when only the static files have changed.
After copying the new files, the updated application should be available through the domain.
Important Notes
- Only the
browserdirectory is deployed in this setup. - The Angular SSR server is not running.
- Node.js is needed for building the application but not for serving the static files.
- Nginx serves the Angular files directly.
- Multiple applications can be hosted on the same VPS using different Nginx server configurations.
- Port
80must be available for HTTP traffic. - Port
443must be available for HTTPS traffic. - The DNS record must point to the correct VPS IP address.
- Always run
nginx -tbefore reloading Nginx.
Conclusion
In this guide, I deployed my Angular portfolio application on an Ubuntu VPS using Nginx.
I learned how to clone and build an Angular project, configure a GoDaddy DNS record, serve the Angular browser files through Nginx, and enable HTTPS using Certbot and Let's Encrypt.
The most important thing I learned is that an Angular application does not always need a running Node.js server. When using a normal client-side Angular application, the generated browser files can be served directly by Nginx.
This approach is simple, lightweight, and suitable for hosting static Angular websites such as portfolios, landing pages, and frontend applications.
Jobi S S
admin
Sharing technical insights, engineering concepts, and practical modern software development guides.
Community Discussion
Enjoyed this read? Show your support or share your thoughts.