In the previous part, I moved my FastAPI application from nohup to systemd.
Now the application is running properly on my Ubuntu VPS, but there is another common thing I need to do.
I make changes to my project locally, push them to GitHub, and then I need to update the application running on the server.
So this part is about the update process I used.
The Situation
When I make a new change to my FastAPI application, my code is usually on my local machine first.
After testing it, I push the changes to GitHub.
Now the server is still running the old code.
So I need to update the server.
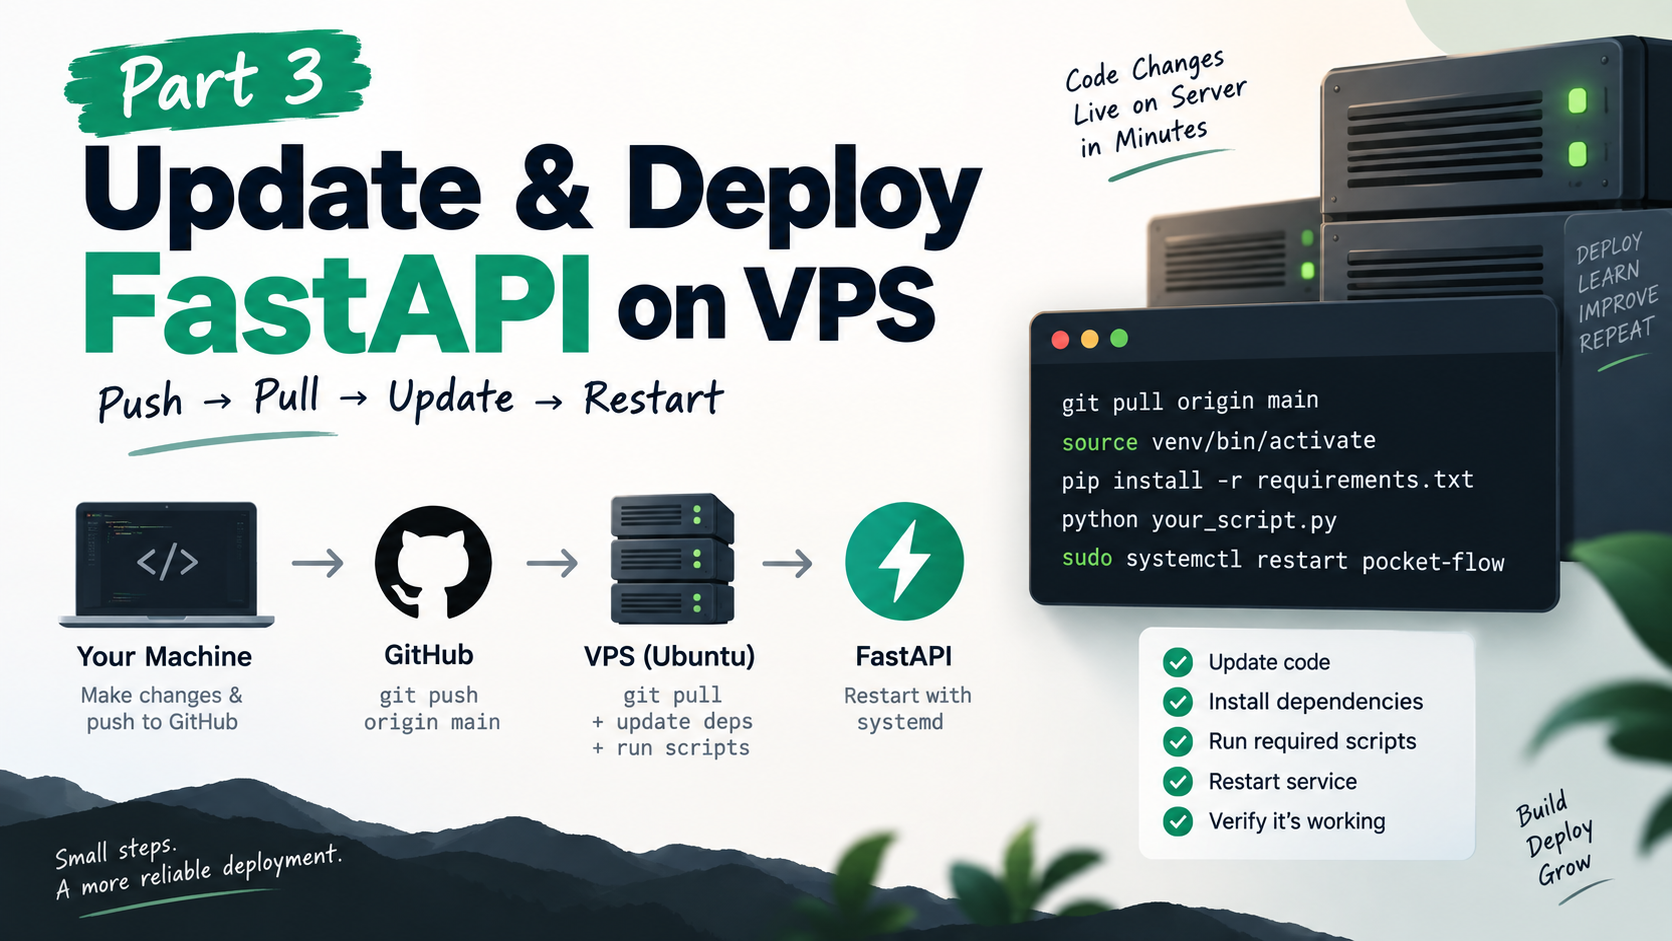
The basic flow is:
Local machine
     ↓
Make changes
     ↓
Test
     ↓
git push
     ↓
GitHub
     ↓
Ubuntu VPS
     ↓
git pull
     ↓
Update dependencies
     ↓
Run required scripts
     ↓
Restart FastAPI1. Push the New Changes to GitHub
First, I make my changes locally and push them to my GitHub repository.
For example:
git add .
git commit -m "Update application"
git push origin main
Now the latest code is available in GitHub.
2. SSH Into the VPS
After pushing the changes, I connect to my Ubuntu VPS through SSH.
Then I go to my project directory:
cd /root/projects/backend/pocket-flow-backendThis is where my FastAPI application is running.
3. Pull the Latest Code
Now I take the latest changes from GitHub:
git pull origin mainThis updates the project on my VPS with the latest code.
I can also check the current Git status:
git statusAt this point, the server has the latest version of my code.
4. Activate the Virtual Environment
My project uses a Python virtual environment.
So I activate it:
source /root/projects/backend/venv/bin/activateThe terminal changes to something like:
(venv) root@vps3602820:~/projects/backend/pocket-flow-backendThis is also something I forgot earlier when I opened a new SSH session.
The virtual environment still exists, but a new SSH session doesn't automatically activate it.
5. Update Python Dependencies
If I have changed requirements.txt, I need to install the updated dependencies.
I run:
pip install -r requirements.txtThis makes sure the packages required by the new version are available on the server.
If I only changed application code and didn't change the dependencies, this step normally doesn't have anything new to install.
6. Run My Required Script
My application also has some project-specific scripts that need to be executed when I deploy certain changes.
So after pulling the latest code, I run the required script before restarting the application.
For example:
python your_script.pyThe actual command depends on the application and what the script is supposed to do.
In my case, I ran the required script as part of the update and made sure it completed successfully before restarting the application.
This is an important part of my deployment because simply pulling the new code isn't always enough.
Some application changes may require a migration, data update, indexing, or another one-time task.
7. Restart the FastAPI Application
After updating the code, dependencies, and running my required script, I restart the systemd service:
sudo systemctl restart pocket-flowThis stops the old Uvicorn process and starts a new one using the updated code.
I don't need to use nohup anymore.
Systemd is now responsible for running my application.
8. Check the Application Status
After restarting, I check whether the application started correctly:
sudo systemctl status pocket-flowI want to see:
Active: active (running)I also check the logs:
sudo journalctl -u pocket-flow -n 50If I want to watch the logs while the application is running:
sudo journalctl -u pocket-flow -fThis is useful if the application doesn't start after a deployment.
9. Test the Application
Finally, I test the application.
I can test it locally on the VPS:
curl http://127.0.0.1:8000And I can also test it through the actual domain:
https://api.pocket-flow.jotech.inIf the response is working, the new version is now running.
The complete update process for me is now:
                         GitHub
                            ↑
                            │
                        git push
                            │
                            │
                      Local machine
                            │
                            ↓
                         SSH VPS
                            │
                            ↓
                   git pull origin main
                            │
                            ↓
                    Activate virtualenv
                            │
                            ↓
              pip install -r requirements.txt
                            │
                            ↓
                    Run required script
                            │
                            ↓
              systemctl restart pocket-flow
                            │
                            ↓
FastAPIWhat I Learned From This
Before doing this, I used to think updating a server basically meant:
git pullBut there can be a few more things involved.
The code needs to be updated, dependencies may need to be updated, application-specific scripts may need to run, and finally the running application needs to be restarted.
The good thing is that after setting up systemd in Part 2, restarting the application is now very simple:
sudo systemctl restart pocket-flowI don't need to find a Uvicorn process, kill it, activate the environment manually for the process, and use nohup again.
My update process is now:
git pull origin main
source /root/projects/backend/venv/bin/activate
pip install -r requirements.txt
# Run required application script
sudo systemctl restart pocket-flow
Then I check:
sudo systemctl status pocket-flowand:
sudo journalctl -u pocket-flow -n 50This is still not a fully automated CI/CD deployment, but for now this gives me a simple and understandable way to update my FastAPI application on the VPS.